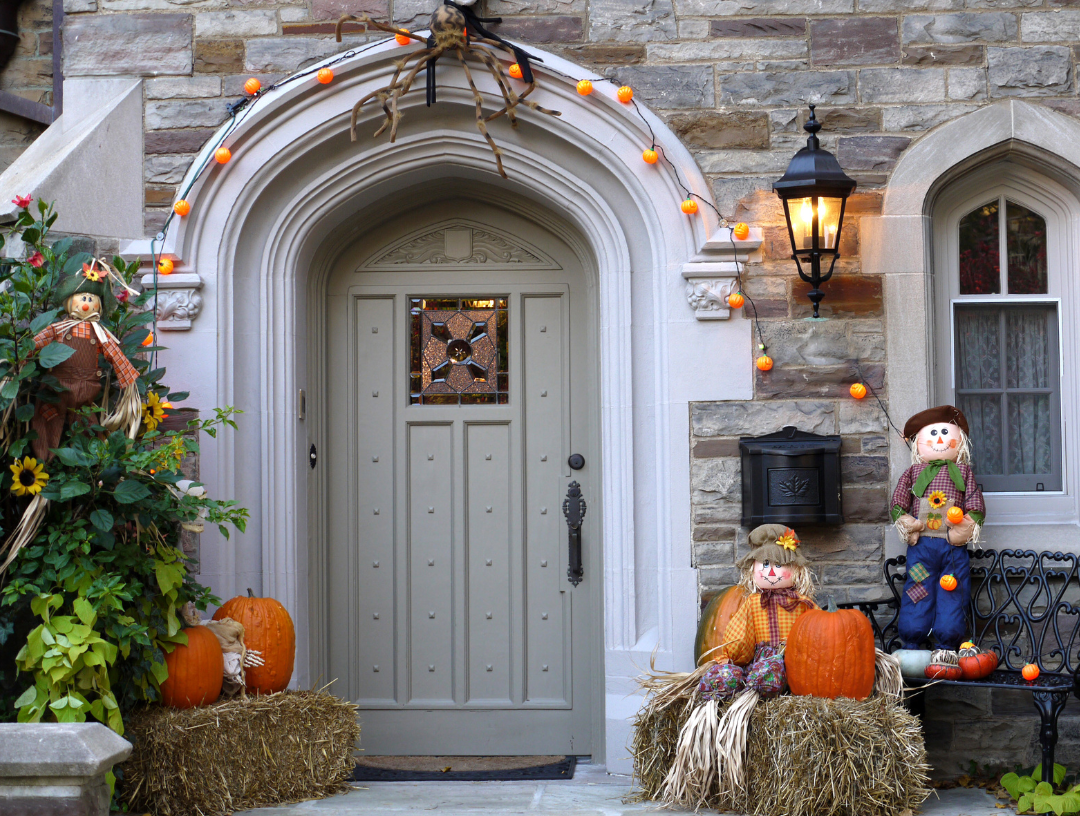
It’s officially the spookiest time of the year! Although Halloween plans were somewhat halted last year, we learned you can still show off your creativity and get into the spirit. While you might be tempted to focus your energy on dreaming up the perfect costume and skipping out on decorations, decking your home out doesn’t have to cost a lot or require too much effort.
Read on to discover some of our favourite DIY Halloween decorating ideas that are so easy, it’s scary. Plus, many are seasonal enough you can keep them up through November.

Sequin pumpkins
If you prefer a less traditional black and orange colour palette, we suggest adding your own white, gold, and touch of sparkle to your décor with a sequin pumpkin. You can avoid a mess by using white artificial pumpkins, or you can paint real ones. Glue on sequins with regular white glue or a hot glue gun. To get more creative, add googly eyes inside the dots or stray away from polka dots as a whole and create your own designs. If you opt for an artificial pumpkin, you’ll be able to enjoy your masterpiece for years to come.

Wine bottle candlesticks
An eerie flicker is a must at any Halloween gathering. Paint wine bottles with matte-black spray paint or chalkboard paint. Once dry, insert an orange or black taper candle in each opening. You could also use electric candles if you’re concerned about open flames (or if the weather isn’t cooperating!). On Halloween, place the bottles on the steps leading up to your front door for a ghostly glow. If you use chalkboard paint, you can also draw spooky faces or write Halloween messages right on the bottle!

Ghost or bat leaves
This is a great one for the kiddos. Collect some large leaves (maple leaves work well!), spray them with matte white or black paint—depending on whether you’re making ghosts or bats—and use a white or black marker to draw little faces, or use googly eyes for a more whimsical approach. Then you can display them on or around your front door. You could even make leaf garland!

Snake wreath
Give your neighbours a fright with a snake-filled wreath. To make your own, you’ll need an assortment of plastic snakes in varying sizes and a grapevine wreath. Weave the plastic snakes, from large to small, between the wreath’s twigs, repeating until you’re satisfied with the look. You can also use hot glue as needed to attach the snakes to the wreath, then hang it on your front door to scare any trick-or-treaters—or delivery people!

Make a festive banner
Trim your front door or windows with a DIY pennant made from burlap. Head to a craft store, buy a fishtail burlap banner and get festive by painting small pumpkins or a spooky saying across the banner. You’ll find lots of themed stencils this time of year if free-hand art isn’t your forte!

Festive bouquet
If you’re not one for going crazy with the decorating and are more of a throw-some-pumpkins-on-the-front-porch-and-call-it-a-day type of person, we recommend putting together a moody, seasonal bouquet for a more refined approach. Think deep red roses, dark hues, or straw and sunflowers. Make sure the vase is also on theme—black and orange vases or hollowed out plastic skulls and pumpkins are a great place to start.

How to reuse your decorations after Halloween
By making your own Halloween decorations, you’ll be helping the environment if you find ways to reuse items that you already own, not to mention helping your wallet.
Some of these decorations can be kept on display well past October 31, and they won’t look tacky or as though you forgot to take them down. For example, if you decide to make a wine bottle candlestick holder, you can swap the orange candles for white ones, write fall-related messaging on the chalkboard paint, or even wrap the bottle in twine to make a less spooky holder.
If you purchased a few pumpkins (real or fake) for outside, clean them off and bring them inside and make a fun autumn display by placing a pumpkin on top of colorful fall leaves and pinecones.
Dried flowers from your bouquet can also be used for découpage or displayed in decorative bowls around the house.

Caring for your decorations
Halloween can sometimes come with frightful weather conditions, including chilly winds, rain, and sometimes even snow, which can potentially damage your homemade decorations if you’re not careful.
In the lead-up to Halloween, if there are any strong winds in the forecast, it’s best to take your decorations down and put them somewhere safe, or cover them with a tarp or heavy-duty garbage bag to avoid any damage. You can also find weather-proof craft sprays and paints that will help your decorations last longer against the elements.
Following October 31, it’s time to conquer the task of taking your decorations down and storing them until next year. To make the process as easy as possible, start by making a list of what you would like to keep and store, donate, or recycle.
Next, take the larger, more difficult items down first and work your way through to the smaller pieces. Use plastic bags to store any cloth items to protect them from possible moth damage, and use bubble wrap to wrap more delicate decorations to protect them from humidity, pests, and any jostling while you’re packing and unpacking. Remember to label all your boxes—you’ll be glad you did.
Finally, once all your items are prepped and ready, you can put them into storage. Opt for plastic containers over cardboard boxes as they will protect your items from bugs, moisture, and possible deterioration. After all, you want to make sure everything is perfect for next year!
Courtesy: realtor.ca
Posted by Infinity Admin on
Leave A Comment