Many homeowners use their garage for more than just parking vehicles. This multi-purpose area is often used as a storage solution, a workroom, a gym, an office, and even an entertainment hub. Whatever function your garage serves, one thing remains the same: you need to maintain the space to ensure its longevity. The process begins from the ground up.
It’s important to pay attention to the health of your garage floor just as much as the doors and walls. The floor takes a beating throughout the years—from car tires and engine grease, to snow shovels and DIY projects. The damage eventually shows in the form of stains, cracks, and pitting, which hurts the overall integrity of the floor.
Whether you’re proactively trying to avoid the wear and tear, or trying to fix some damage, epoxy flooring can be a good solution. Not sure where to begin? We’ve got you covered!
 Image via – Jaco – Jahluka on Flickr, CC BY-ND 2.0
Regular paint vs. epoxy
Most garage floors are made out of concrete and painted with either latex acrylic paint or epoxy. Acrylic latex, a water-based paint, is budget-friendly and uses plastic or synthetic polymers to hold the pigment particles together.
Epoxy, while more expensive, is much more durable than bare concrete or acrylic latex floors. It provides protection from moisture, stains, grease, cracks and pitting. So if you want your painted floor to last long-term, finishing it with epoxy is a logical choice.

Epoxy 101
Let’s go back to science class for a moment to better understand why epoxy is optimal when it comes to painting over certain surfaces.
First, it’s important to get a misconception out of the way: while people do tend to say “epoxy paint,” epoxy and paint are not the same. Epoxy is a form of resin created when epoxides combine to form polymers (big molecules). The chemical bond that leads to the formation of epoxies is so strong it develops resistance to certain physical, thermal, and chemical factors. This makes epoxies ideal for use in adhesive products and for coating surfaces like concrete and metal.
Epoxy comes in a variety of colours. Not only will the epoxy-coated surface remain tough, the product will cure into a high-gloss finish (think car dealership showroom) that will drive up the aesthetic appeal of your garage floor.
When it comes to cost, how much you spend on epoxy varies by manufacturer. Typically, a gallon of water-based or solvent epoxy will cost around $30 to $50. A gallon covers about 12 square feet of surface. So, for the average one-car garage (250 square feet), it could cost upwards of $600 to coat in epoxy. Larger spaces (400 to 500 square feet) could cost more than $1,000.
 Image via Nolan V on Flickr, Public Domain
How to paint with epoxy
Epoxy can be a bit tricky to work with if you aren’t properly prepared, or if you’re not a professional. It often comes as a two-part package––the resin and a hardener. You’ll have to determine how to properly mix the products and how to prep the surface before you begin the process.
Determine if your floor is suitable
The state of your concrete will determine whether or not epoxy will work as well as expected. First, verify whether or not your floor has a sealer that was applied previously. You can do this by spraying some water on the floor, if beads form then a concrete sealer was used. Unfortunately, epoxy will not work on this surface unless you get the sealer removed first—which will likely require help from a professional.
If your floors were painted, you should remove the paint before the epoxy coat. Finally, if you recently had your garage floors installed, you should wait between 28 and 60 days before you add the epoxy layer so the concrete can properly cure.
What you’ll need
Now that you know what to look for, here are the tools you’ll need to get the job done. If you don’t have these items on hand, it’s time for a trip to the hardware store.. You’ll need:
- epoxy floor kit;
- crack filler;
- paint rollers;
- soft bristle brushes;
- floor cleaner and degreaser;
- vacuum;
- Cloths or towels;
- rubber gloves;
- mask; and
- safety goggles.
 Image via Bill Wilson on Flickr, CC BY 2.0
Step 1: Prep the floor
You will need to clean them to get rid of dirt, dust, and debris. You may need to remove grease, too. If your garage floor has cracks, use a filler. For small cracks, opt for liquid filler or concrete caulk. Wider cracks are best fixed with a patching compound; simply mix the product with water and apply with a clean cloth or towel.
Step 2: Confirm the moisture level
Moisture and humidity are your worst enemies when it comes to applying epoxy. Water will break the chemical bond before it has a chance to solidify, so the product will be unable to stick to damp surfaces. To check the moisture level of the garage floor, tape a plastic bag on the floor and keep it in that spot for 24 hours. If the bag is dry once lifted, you can go to the next step. Otherise, you should wait until the floor is completely dry before you start. This may take a few days, so you should also keep up with weather updates in your area and make sure you work on days that are dry and with low humidity.

Step 3: Mix the epoxy
Once your floors are free from moisture, dirt, and oil, it’s time to mix the epoxy parts based on the manufacturer’s instructions. You’ll need at least two buckets, some towels or a cloth, safety goggles, and a mask to protect yourself from breathing in harmful fumes. You’ll also need to let the mixed solution sit for a while before applying, and you should use the mixture within a specified timeframe (usually 24 hours).
Note: Be sure to have more epoxy than you need to avoid running out of product while applying it to the floors. Dry epoxy will show under the newly applied layer.
 Image via Nolan V on Flickr
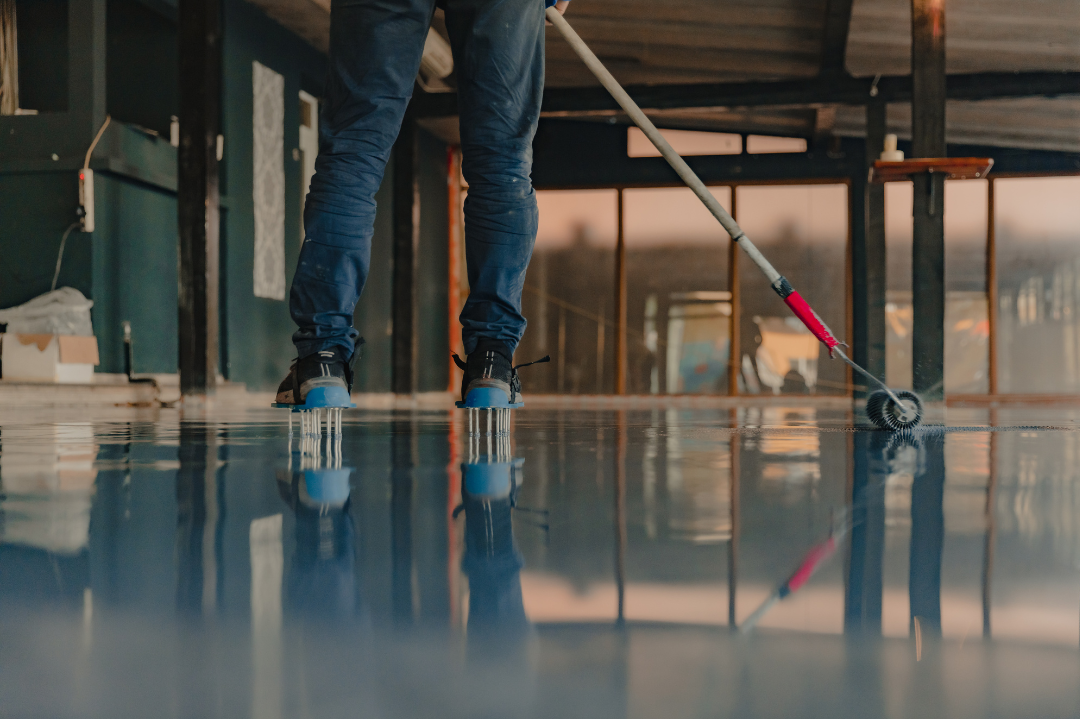
Step 4: Apply the epoxy
As you would with paint, use a soft bristle brush to apply epoxy to the perimeters. For the inner floor surface, you can dip a roller into the product to apply even coats. If you have a one-car garage, you could complete the task in 30 to 45 minutes depending on how fast you move. A larger area may take an hour or so. But remember, this isn’t a race so take the time you need to follow each step to make sure it’s done right.
If you need to apply a second coat, you’ll have to wait at least 12 hours until the first is dry. Follow the label instructions for drying techniques, then repeat this step. This would be the time to add any extras, such as decorative speckles or anti-slip products to the epoxy mixture.
Remember: Make sure your garage door is open during this entire process.
Step 5: Let it dry
Once the second coat is applied, you should wait at least 16 to 20 hours before walking on it. Cars will need to wait about three days before you can park on the new surface. In some cases, epoxy on the floor may take up to a month to fully cure, so be prepared to wait. You don’t want all that hard work to be for nothing!
Epoxy garage floors are very easy to maintain. You don’t need fancy cleaners or chemicals to keep them in tip-top shape: water, a good mop, or a scrubber and a little bit of dish soap will do the job well. With summer officially here, there’s no better time to show your garage floor a little extra attention!
Courtesy: realtor.ca
Posted by Infinity Admin on
Leave A Comment